


Choosing a projector for an immersive space is part art, part engineering. The best results come from matching the hardware to the room, the content, and the audience experience you want to create.
This guide walks through the decisions we make at Lumen and Forge when we specify projectors for domes, multiwall rooms, tunnels, and architectural mapping. It is written for both technical and non-technical readers, with clear explanations and practical checkpoints you can use right away.
Start With the Experience, Not the Spec Sheet
Begin with the outcome you want guests to feel. Are you building a calm, contemplative environment or a high-energy, interactive space with people moving in every direction? This determines how bright the image must be, how forgiving the setup is to shadows, and where you can place equipment.
Think about viewing distance. If people will be inches from a wall, you will need higher pixel density and careful lens choices so the image stays crisp up close. If viewers are 30 feet away in a theater, you can cover more area per projector without exposing pixel structure.
Finally, define the run profile. A two-day pop-up has different service needs than a museum exhibit that runs all day, every day. Continuous operation points you toward laser light sources, sealed optics, and robust remote monitoring. If you are exploring wraparound content that moves across surfaces, our approach to projection mapping outlines how we design for clarity, motion, and sightlines from the start.
Measure the Room and Calculate Throw
Projection is geometry. A few measurements determine your options.
Throw distance is the distance from the lens to the surface. Image width is the horizontal size you want to fill. Throw ratio equals throw distance divided by image width. If you have 20 feet from lens to wall and want a 16-foot-wide image, the required throw ratio is 20 ÷ 16 = 1.25:1. Choose a lens or projector whose throw range includes that number.
EXAMPLE:
D = 20 ft
W = 16 ft
ThrowRatio = 20 / 16 = 1.25
LensRange = [1.2, 1.6]
Lens categories you will meet in immersive work:
- Ultra short throw range 0.1:1 - 0.4:1 for very tight spaces. These often use mirrors or periscope optics to keep beams close to the surface and out of sightlines.
- Short throw roughly 0.4 to about 1.0:1. Common for immersive rooms and exhibits where you want large images without long throw distances.
- Standard or mid throw roughly 1.0 to about 2.0:1. The workhorse range when you have space to mount farther back.
- Long throw above about 2.0:1 - 6.0:1+ for projection booths, balconies, rooftops, or across-street installations.
If you plan to tour or reconfigure the setup, a zoom lens that spans your target throw provides flexibility.
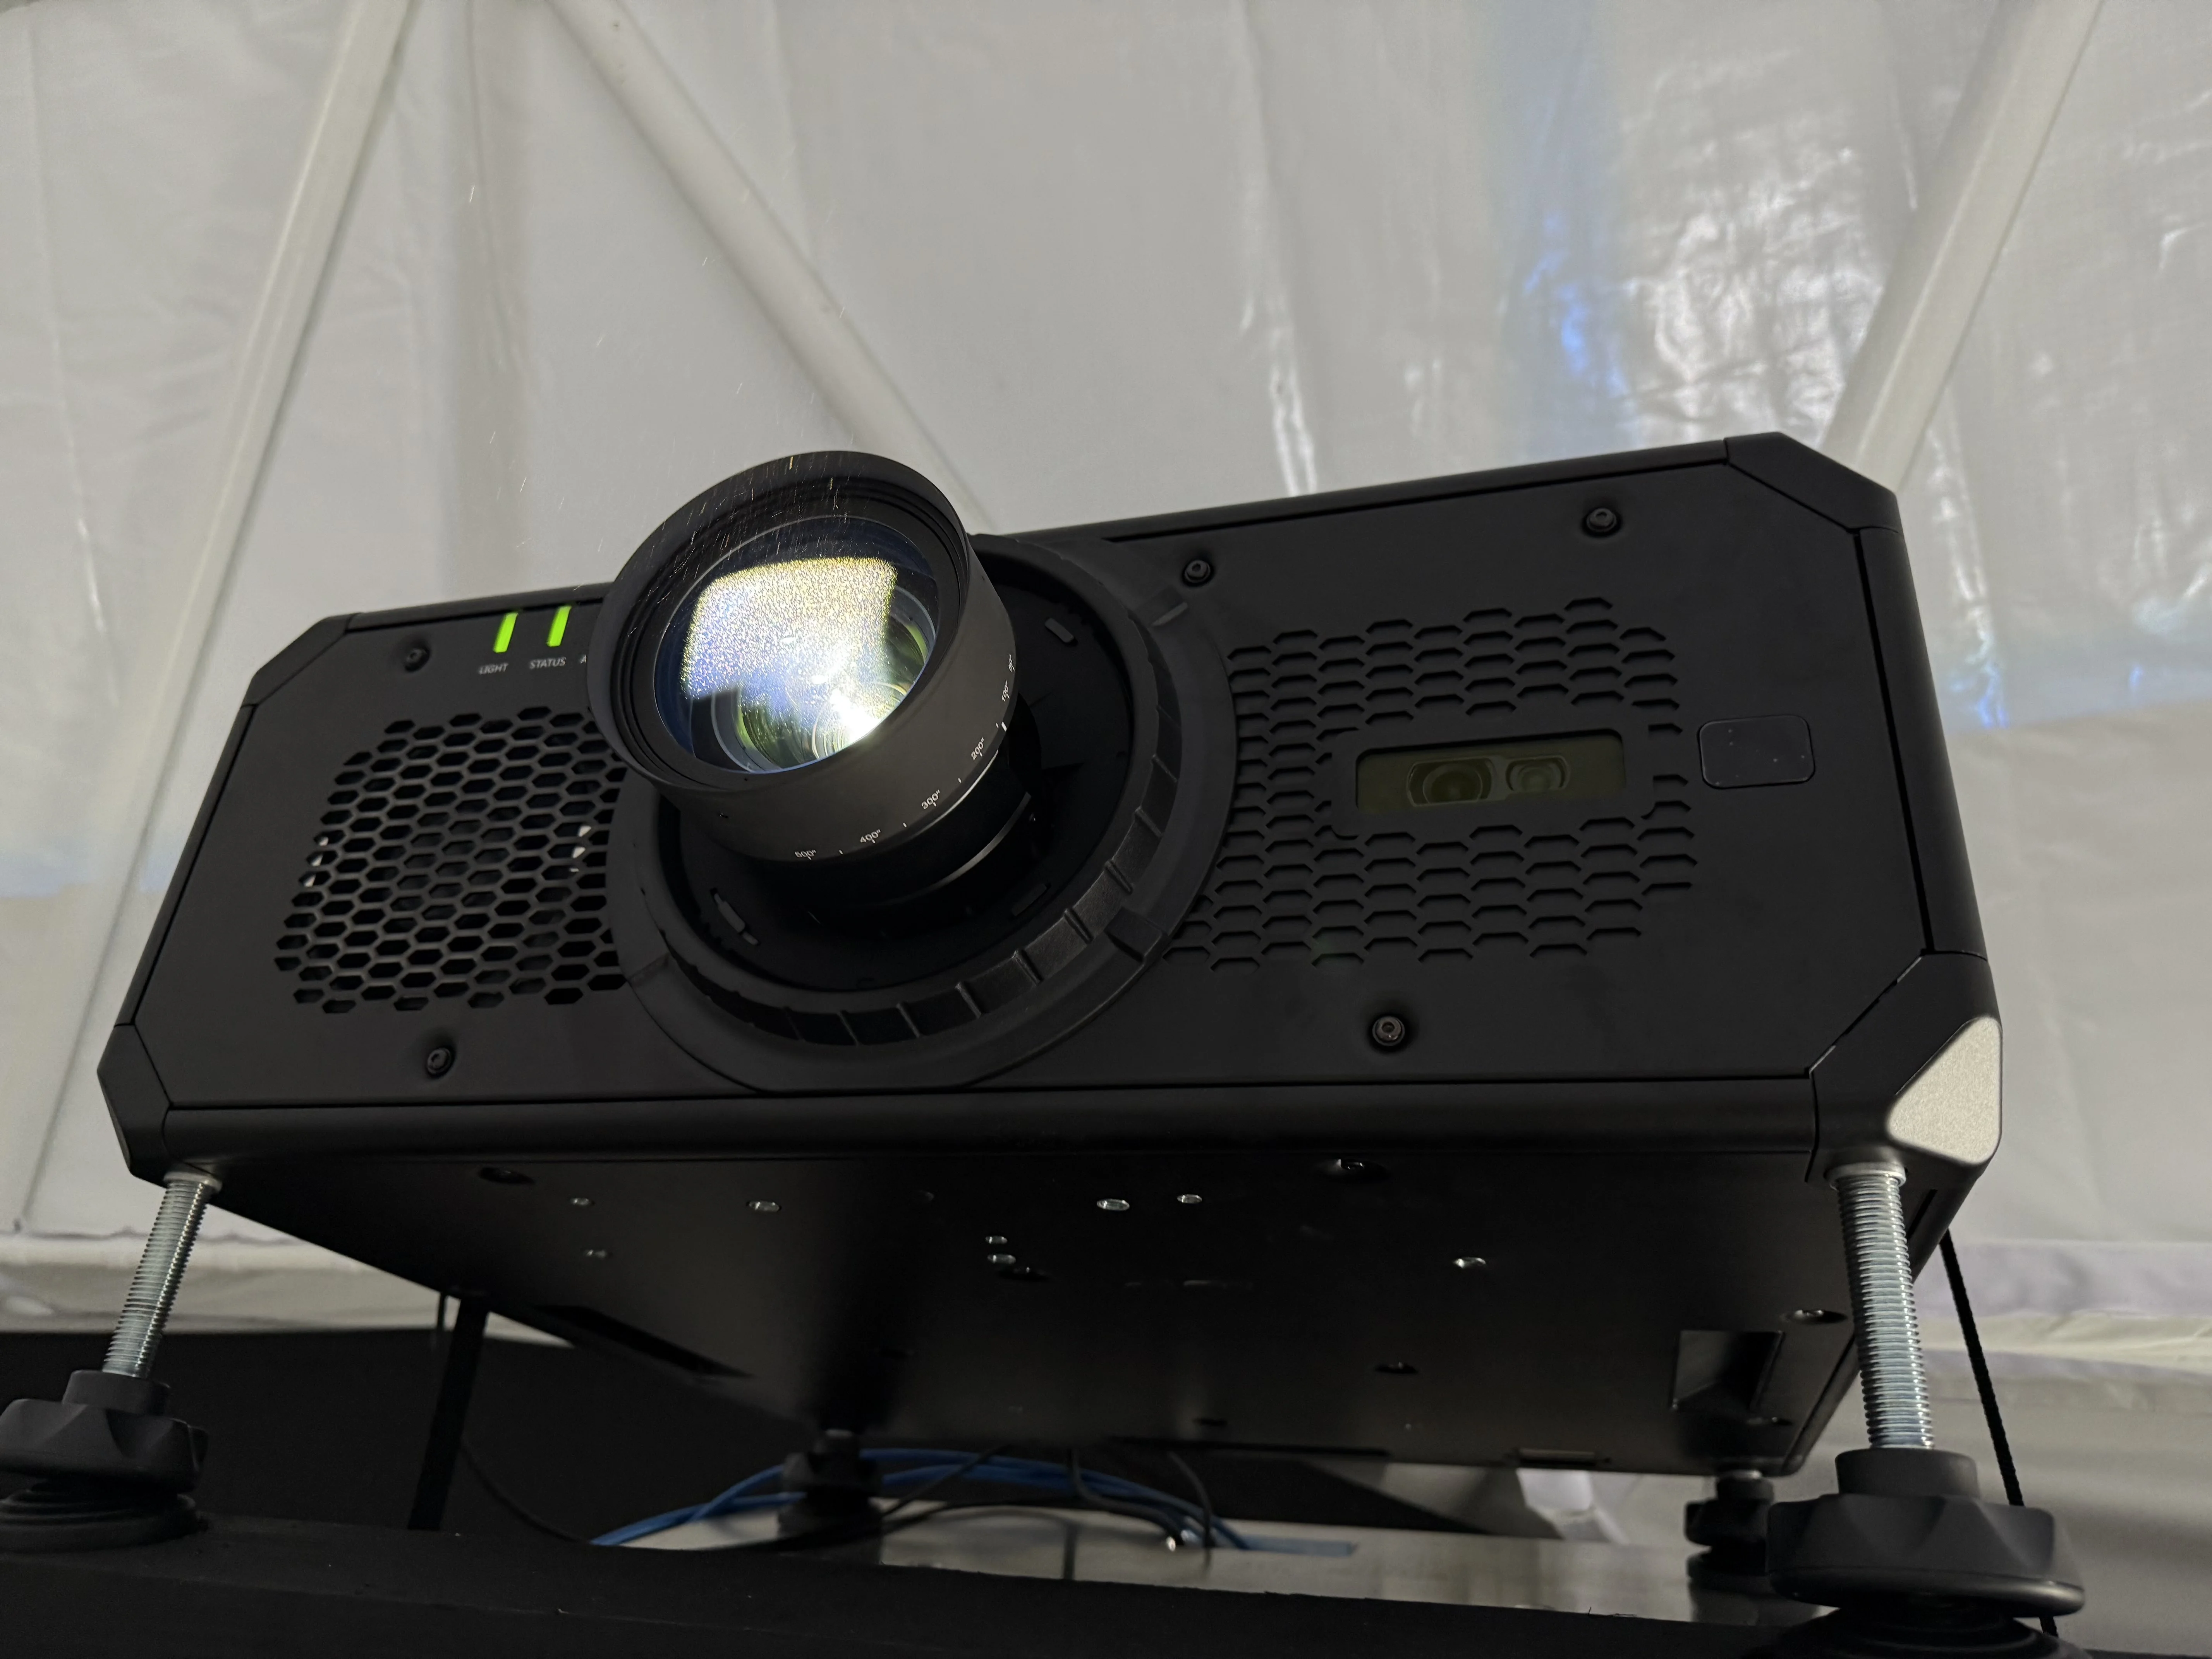
Brightness: Match Lumens to Surface and Light
Brightness is the most common source of disappointment because it is easy to underestimate. The larger the image and the brighter the room, the more lumens you need to compensate. Illuminance on the surface is proportional to lumens divided by area, so every increase in image size spreads the same light over more square feet.
In dark, controlled rooms, many immersive walls look good in the 5,000 to 10,000 lumen range per projector, especially when you are tiling several units. Large rooms or spaces with moderate ambient light often need 10,000 to 20,000 lumens per projector. Outdoors and on buildings, it is common to use multiple 20,000 to 50,000 lumen projectors and often stacked for brightness to achieve vivid results across huge surfaces. For example, the McLaren x Mastercard at the Stratosphere activation shows how coordinated high-output systems carry color and detail at city scale.
Lens position affects brightness many zoom lenses transmit less light at the telephoto end because the effective aperture narrows. Always plan your lumen budget based on the zoom setting you’ll use. Screen material and color also impact brightness: dark paint, uncoated concrete, or bright ambient light all increase the lumens required for a clear image.
If you are unsure, run a quick estimate of surface area and compare options, or request a photometric simulation. It is safer to slightly over-spec brightness than to realize you have underspecked and the image is dull.
![]()
Resolution: HD, WUXGA, UHD, or WQXGA
Resolution is key to your overall success. Higher resolution lets people get closer without seeing pixels and preserves fine details on large canvases.
- HD 1080p at 1920 by 1080 is the baseline for many small to mid-size rooms, corridors, and lower budget multi-projector arrays. It is cost-effective and widely available in bright laser units.
- WUXGA at 1920 by 1200 adds a little vertical room and a 16:10 aspect that works well with computer-driven content and user interfaces. Many professional installation projectors standardize on WUXGA.
- 4K UHD at 3840 by 2160, and DCI 4K at 4096 by 2160, quadruple the pixels of 1080p. This is valuable for very large surfaces per projector and close viewing where pixel structure breaks immersion. When we built a panoramic conference environment at the Toyota Convention Projection Mapping event, careful resolution planning kept text, motion, and brand elements crisp from every seat.
- DCI True 4K (4096 × 2160 pixels) DCI 4K is the professional cinema standard established by the Digital Cinema Initiatives consortium. It delivers 8.85 million pixels across a 17:9 aspect ratio, providing exceptional image sharpness, accurate color reproduction, and full-frame coverage for theatrical and immersive content. This resolution is ideal for film-grade projection, large-format LED walls, and immersive experiences where fine detail and cinematic composition are critical.
- WQXGA 4K+ (4096 × 2400 pixels) DCI 4K+sometimes referred to as “True 4K WQXGA+”extends the vertical resolution to 2400 pixels, increasing the total pixel count to 9.83 million. This 17:10 format provides a slightly taller image than standard 4K, offering about 12 percent more visual data and superior flexibility for architectural projection, simulation domes, and ultra-wide creative canvases. The result is greater image fidelity, smoother gradients, and more immersive visual depth, especially noticeable in large-scale environments where every pixel contributes to perceived realism.
A simple way to visualize pixel density on the wall. Is by knowing the size of a pixel on the wall in relation to the resolution of the projector. Pixel size equals image width divided by horizontal pixels. A 16-foot-wide 1080p image is 192 inches wide. 192 ÷ 1920 is 0.1 inch per pixel. The same 16-foot width at 4K UHD is 192 ÷ 3840, which is 0.05 inch per pixel. If people stand close, the user will be able to see the individual pixels.
Native 4K vs. Pixel-Shifted 4K
You’ll often see two kinds of “4K” projectors: native 4K and pixel-shifted 4K. Pixel-shifted 4K uses a standard HD or WUXGA imaging chip (1920×1080 or 1920×1200) and rapidly shifts each pixel diagonally by a fraction of a pixel width between subframes. This creates the illusion of higher resolution by displaying offset pixel data in rapid succession. The result appears sharper than standard HD, but no new physical pixels are added—it’s an optical and temporal enhancement, not a true increase in detail.
Native 4K, on the other hand, uses an imaging panel with an actual 4096×2160 (or 3840×2160) pixel array. Every pixel of the 4K signal has its own physical pixel on the display chip. This produces crisper, more defined edges, smoother gradients, and true pixel-level accuracy—especially noticeable on large surfaces or close-viewing environments like art installations, immersive rooms, or brand activations.
In simple terms:
- Pixel-shifted 4K = a clever illusion of higher detail using a smaller chip.
- Native 4K = every pixel is real, resulting in true, uncompromised resolution.
Light Source: Laser vs Lamp vs LED
For immersive environments, laser light sources are the standard. Laser projectors offer long service life, consistent brightness across their lifespan, rapid on and off, and low maintenance. Many professional laser models are rated around 20,000 to 30,000 hours for the light source.
Lamp projectors are now considered legacy technology and are being phased out across the professional AV industry. They rely on high-pressure mercury or xenon bulbs, which dim gradually over time and require frequent replacements—typically every 2,000 to 4,000 hours. While outdated, they still appear in the market because many manufacturers and resellers are clearing old inventory, making them a budget-friendly option for new immersive installations where upfront cost is a key factor. For smaller projects, these units can offer an affordable entry point into projection mapping and spatial media systems.
LED projectors, on the other hand, use solid-state light sources that are highly energy-efficient and long-lived (up to 30,000–60,000 hours). They produce consistent color and brightness over time with minimal maintenance. However, their brightness output is lower compared to lamp or laser systems, which limits their use on large-scale canvases or bright environments. LED projectors are best suited for home theaters, small rooms, and artistic displays where long-term stability and silent operation are more important than high lumen output.
Laser projectors represent the modern standard in professional and immersive visual systems. Instead of traditional bulbs, they use solid-state laser diodes as the light source, delivering exceptionally high brightness, color accuracy, and operational lifespan. Typical laser light engines last 20,000 to 40,000 hours with minimal maintenance and virtually no color drift, making them ideal for large-scale installations, projection mapping, domes, and high-end experiential environments.
Laser systems provide instant on/off functionality, eliminating warm-up and cool-down times associated with lamp-based units. They also maintain consistent brightness and color uniformity over years of use, which is critical for multi-projector blends and calibration-sensitive applications.
There are three main categories of laser projection:
- Single-Blue Laser + Phosphor Wheel: The most common and cost-effective, using a blue laser that excites a phosphor material to create white light. Found in most mid-range professional projectors.
- Dual or Multi-Laser Phosphor Systems: Use multiple laser wavelengths for higher brightness and better color stability.
- RGB Pure Laser: The premium tier, generating red, green, and blue light directly from individual laser diodes. This configuration achieves 100% of the Rec. 2020 color gamut, offering unmatched vibrancy and precision for cinematic or artistic installations.
Laser projectors are now the industry benchmark for brightness, reliability, and long-term cost efficiency, outperforming both lamp and LED technologies in demanding professional environments.
If your show runs daily or operates for extended periods, laser projection dramatically reduces operational headaches. Unlike lamp systems that degrade quickly and require periodic bulb swaps or recalibration, laser engines deliver stable brightness and color accuracy for tens of thousands of hours. This consistency is especially critical in multi-projector arrays, where even small variations between units can break visual continuity or cause noticeable blend seams.
Laser light sources ensure every unit performs identically day after day, maintaining the same luminous intensity, hue balance, and white point across the entire installation. This not only preserves the creative intent of your content but also minimizes downtime and service interruptions, translating directly into lower maintenance costs and higher reliability.
In short, for permanent or high-duty-cycle immersive environments, laser projection isn’t just a performance upgrade it’s an operational investment that guarantees visual consistency, reliability, and long-term peace of mind.
Imaging Tech: DLP vs LCD and What That Means On Screen
DLP technology, is widely used in high-brightness, high-contrast projection. It works by reflecting light off thousands (or millions) of tiny mirrors mounted on a DMD (Digital Micromirror Device) chip. These mirrors tilt rapidly to create shades and colors with exceptional precision, producing sharp, stable images with excellent motion handling and high contrast ratios.
There are two main DLP configurations used in professional systems:
Three-Chip DLP:
This premium design uses three separate DMD chips one each for red, green, and blue light. Because all three color channels are displayed simultaneously, these projectors deliver full brightness and rich, saturated colors with no color breakup or “rainbow effect.” Three-chip DLP systems are the standard for large venues, cinemas, and immersive installations, where color fidelity and brightness uniformity are critical.
Single-Chip DLP:
More compact and cost-effective, single-chip DLP systems use a rotating color wheel to sequentially project red, green, and blue frames. While this approach keeps hardware simpler and affordable, the color brightness depends on how the color wheel is implemented—meaning highly saturated hues (like deep reds or blues) may appear dimmer than in three-chip designs. In most cases, single-chip DLP offers excellent image sharpness and reliability for general commercial or mid-scale immersive use, but it can’t match the color punch and brightness balance of a true three-chip system.
LCD (Liquid Crystal Display) projectors create images by passing light through one or more thin panels made of liquid crystal. Each pixel on these panels acts as a tiny optical gate that opens or closes to let specific amounts of light through, shaping the brightness and color of every part of the image. The light passing through the panels is then focused through a projection lens and displayed on the screen.
LCD systems are transmissive light passes through the imaging panels unlike DLP systems, which are reflective, bouncing light off mirrors. This key difference gives LCD projectors certain advantages: higher brightness efficiency per watt, richer midtone color reproduction, and smooth, film-like images without the “rainbow effect” that can occur in some DLP units.
1. Single-LCD (Color-Sequential) Systems
Early and entry-level LCD projectors often used a single LCD panel. These systems rely on a color wheel or sequential filtering system to project red, green, and blue images in rapid succession, which the human eye perceives as a full-color picture.
- While cost-effective and compact, this approach has clear limitations:
- Reduced color brightness, since each frame displays only one color channel at a time.
- Lower overall light efficiency, because filters block a significant amount of light during each cycle.
- Potential motion artifacts and color breakup, especially on fast-moving content.
Single-LCD projectors are now largely obsolete in professional applications, replaced by more advanced multi-panel systems.
2. 3LCD Systems
Modern professional LCD projectors use a 3LCD architecture, which splits the white light from the lamp or laser into three separate beams—one for red, one for green, and one for blue. Each color beam passes through its own dedicated LCD panel, and the three images are then recombined through a prism before exiting the projection lens.
This simultaneous color projection allows 3LCD systems to deliver:
- Full color brightness on every frame, improving vibrancy and tonal accuracy.
- Higher brightness efficiency, meaning more lumens per watt.
- Smooth gradients and natural color transitions, ideal for artistic or immersive environments.
- Excellent performance for white-balance-critical applications, such as galleries and corporate displays.
Because each color is continuously projected, 3LCD imagery tends to appear richer and more uniform than that of single-chip color-sequential systems.
Contrast and color accuracy
Contrast and color space influence how lifelike the content feels. In dark, controlled rooms, higher native contrast helps imagery appear dimensional and improves shadow detail. In bright spaces, ambient light limits perceived contrast regardless of the projector spec, so prioritize lumens and surface treatment. If your content includes brand colors, artwork, or human skin, look for projectors with solid factory calibration and use identical models across the array so you are not fighting unit-to-unit differences.
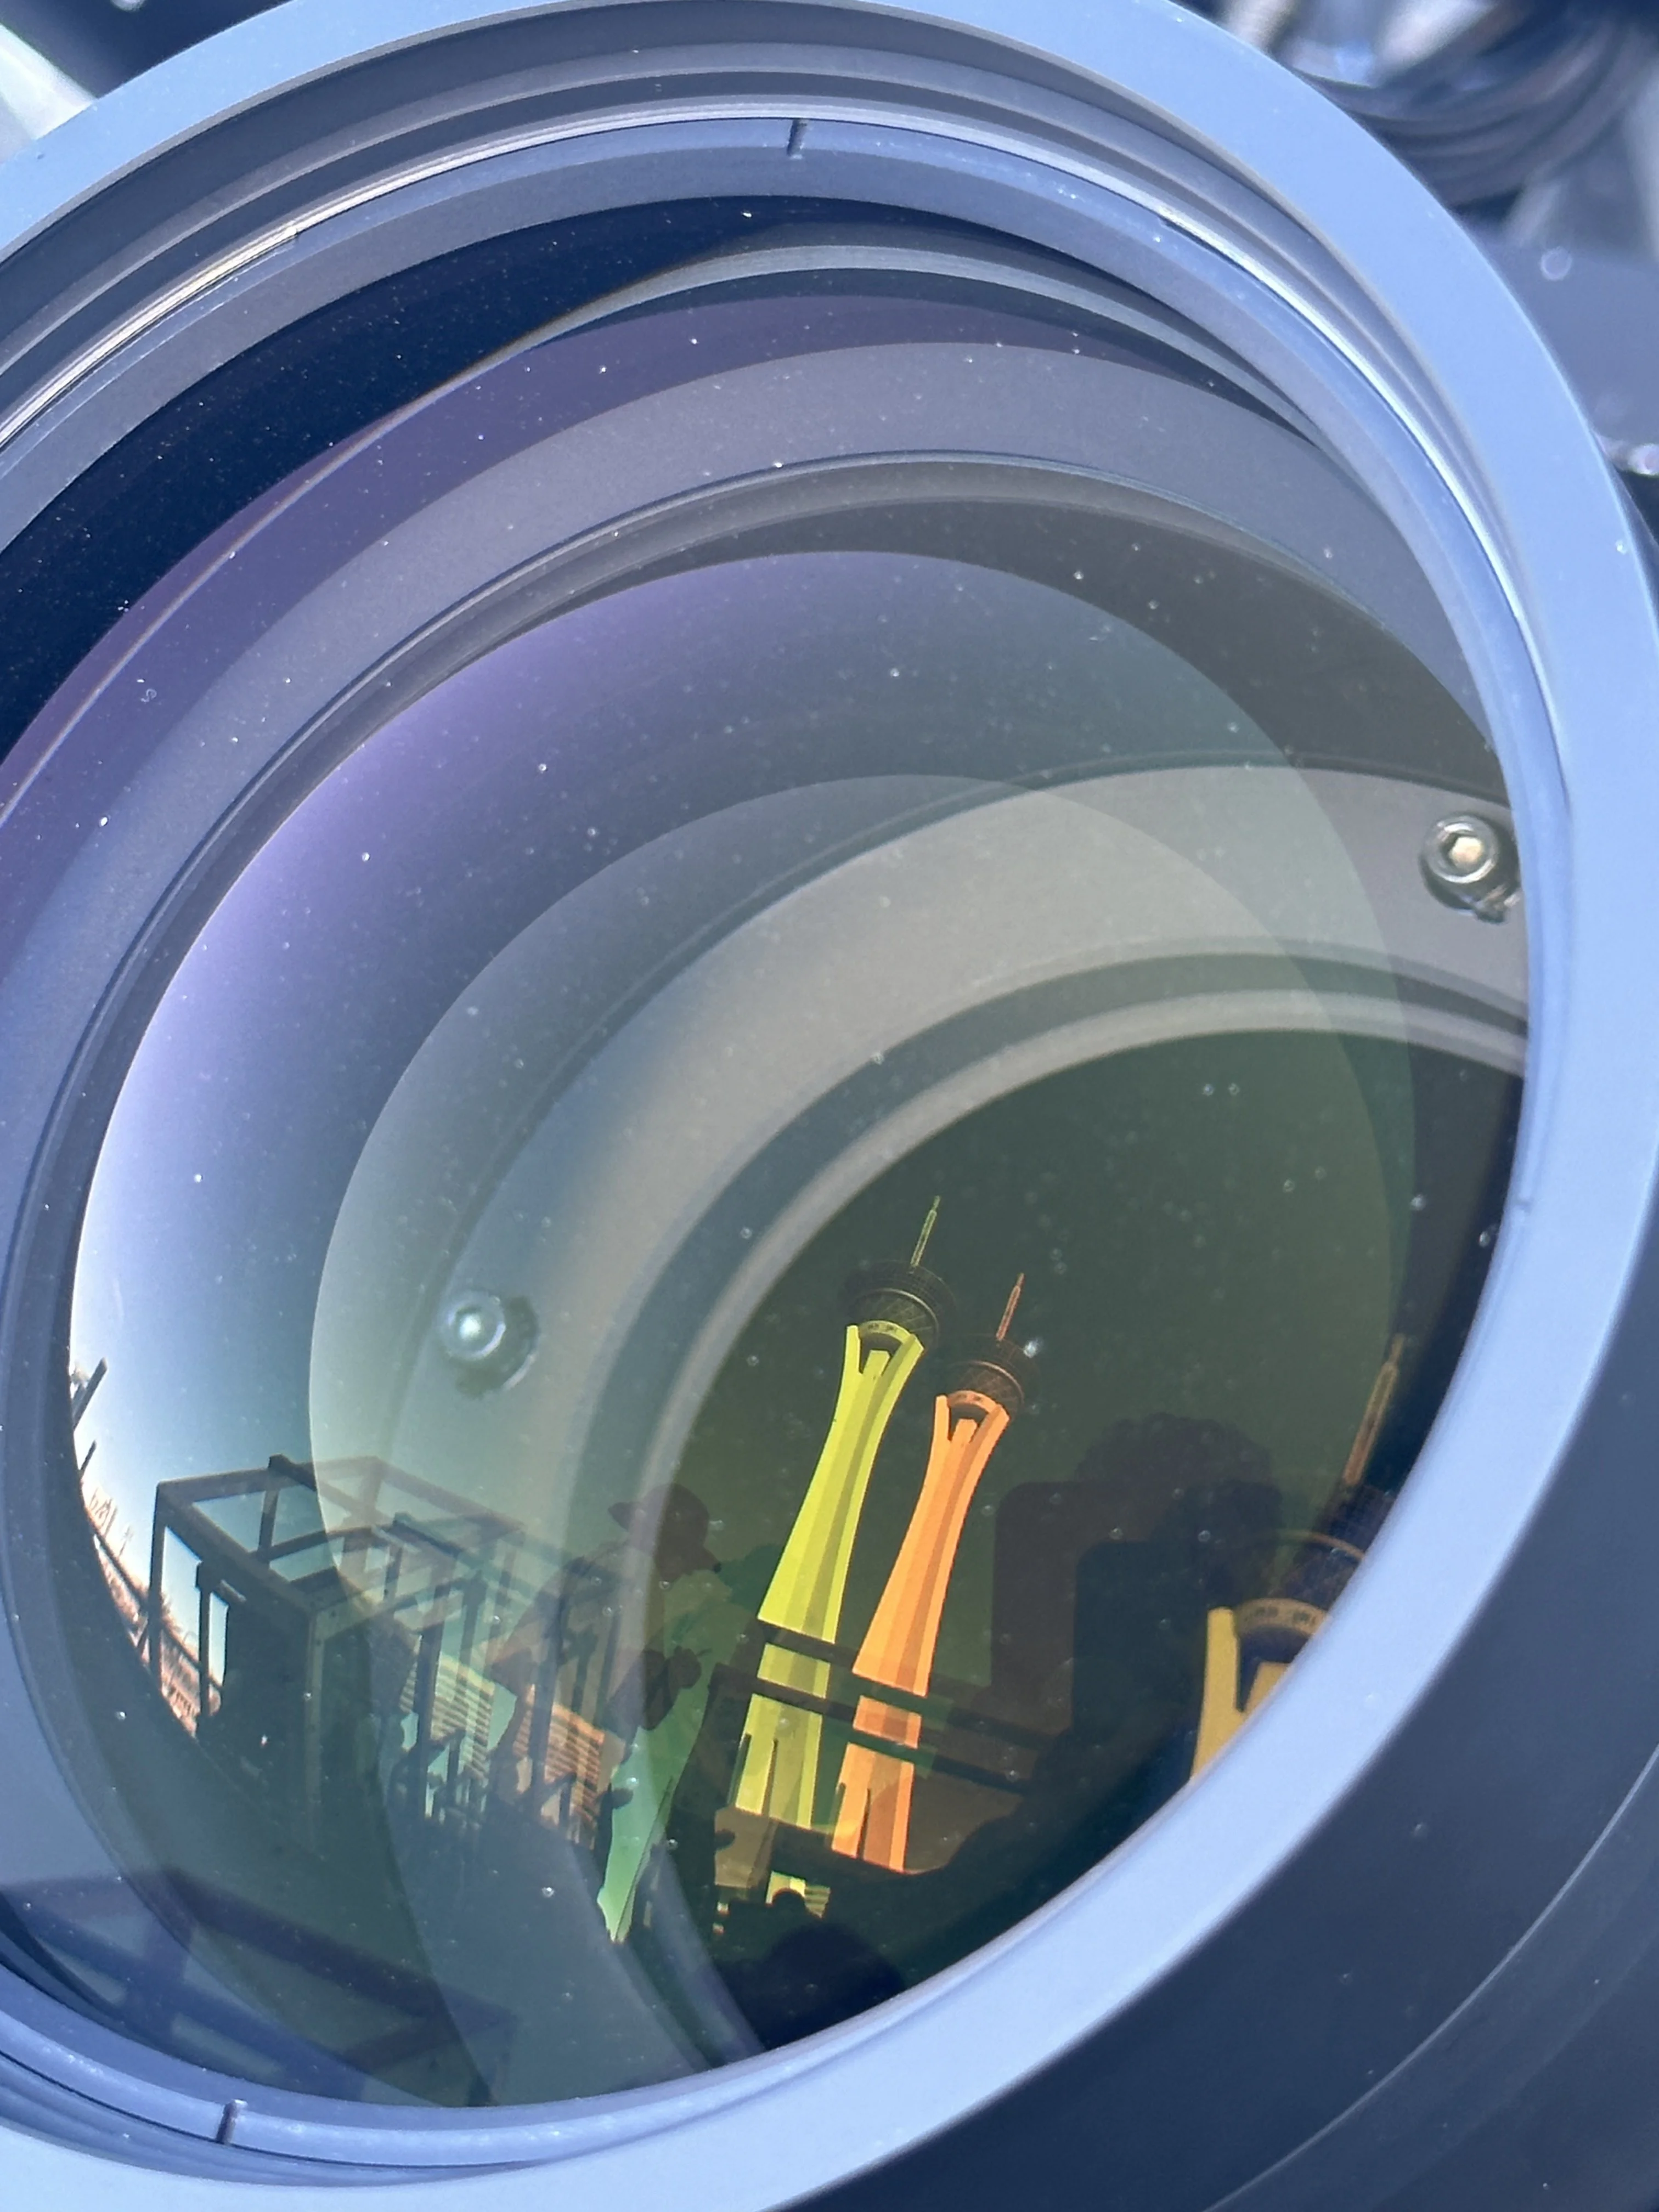
Optics and Alignment: Lens Shift, Keystone, and Warping
Mounting geometry affects image quality. Lens shift is your friend. It moves the image optically up, down, left, or right without tilting the chassis, which preserves resolution and geometry. Keystone is a digital correction that rescales the image to compensate for a tilted projector. Use it sparingly because it discards pixels and can soften the image.
Advanced warping and mesh mapping let you align images on curved walls and domes. They are essential tools in immersive work, but the cleaner your physical alignment, the less digital correction you need and the sharper the result. Whenever possible, mount projectors level and centered, then use lens shift for composition and warping for fine-tuning.
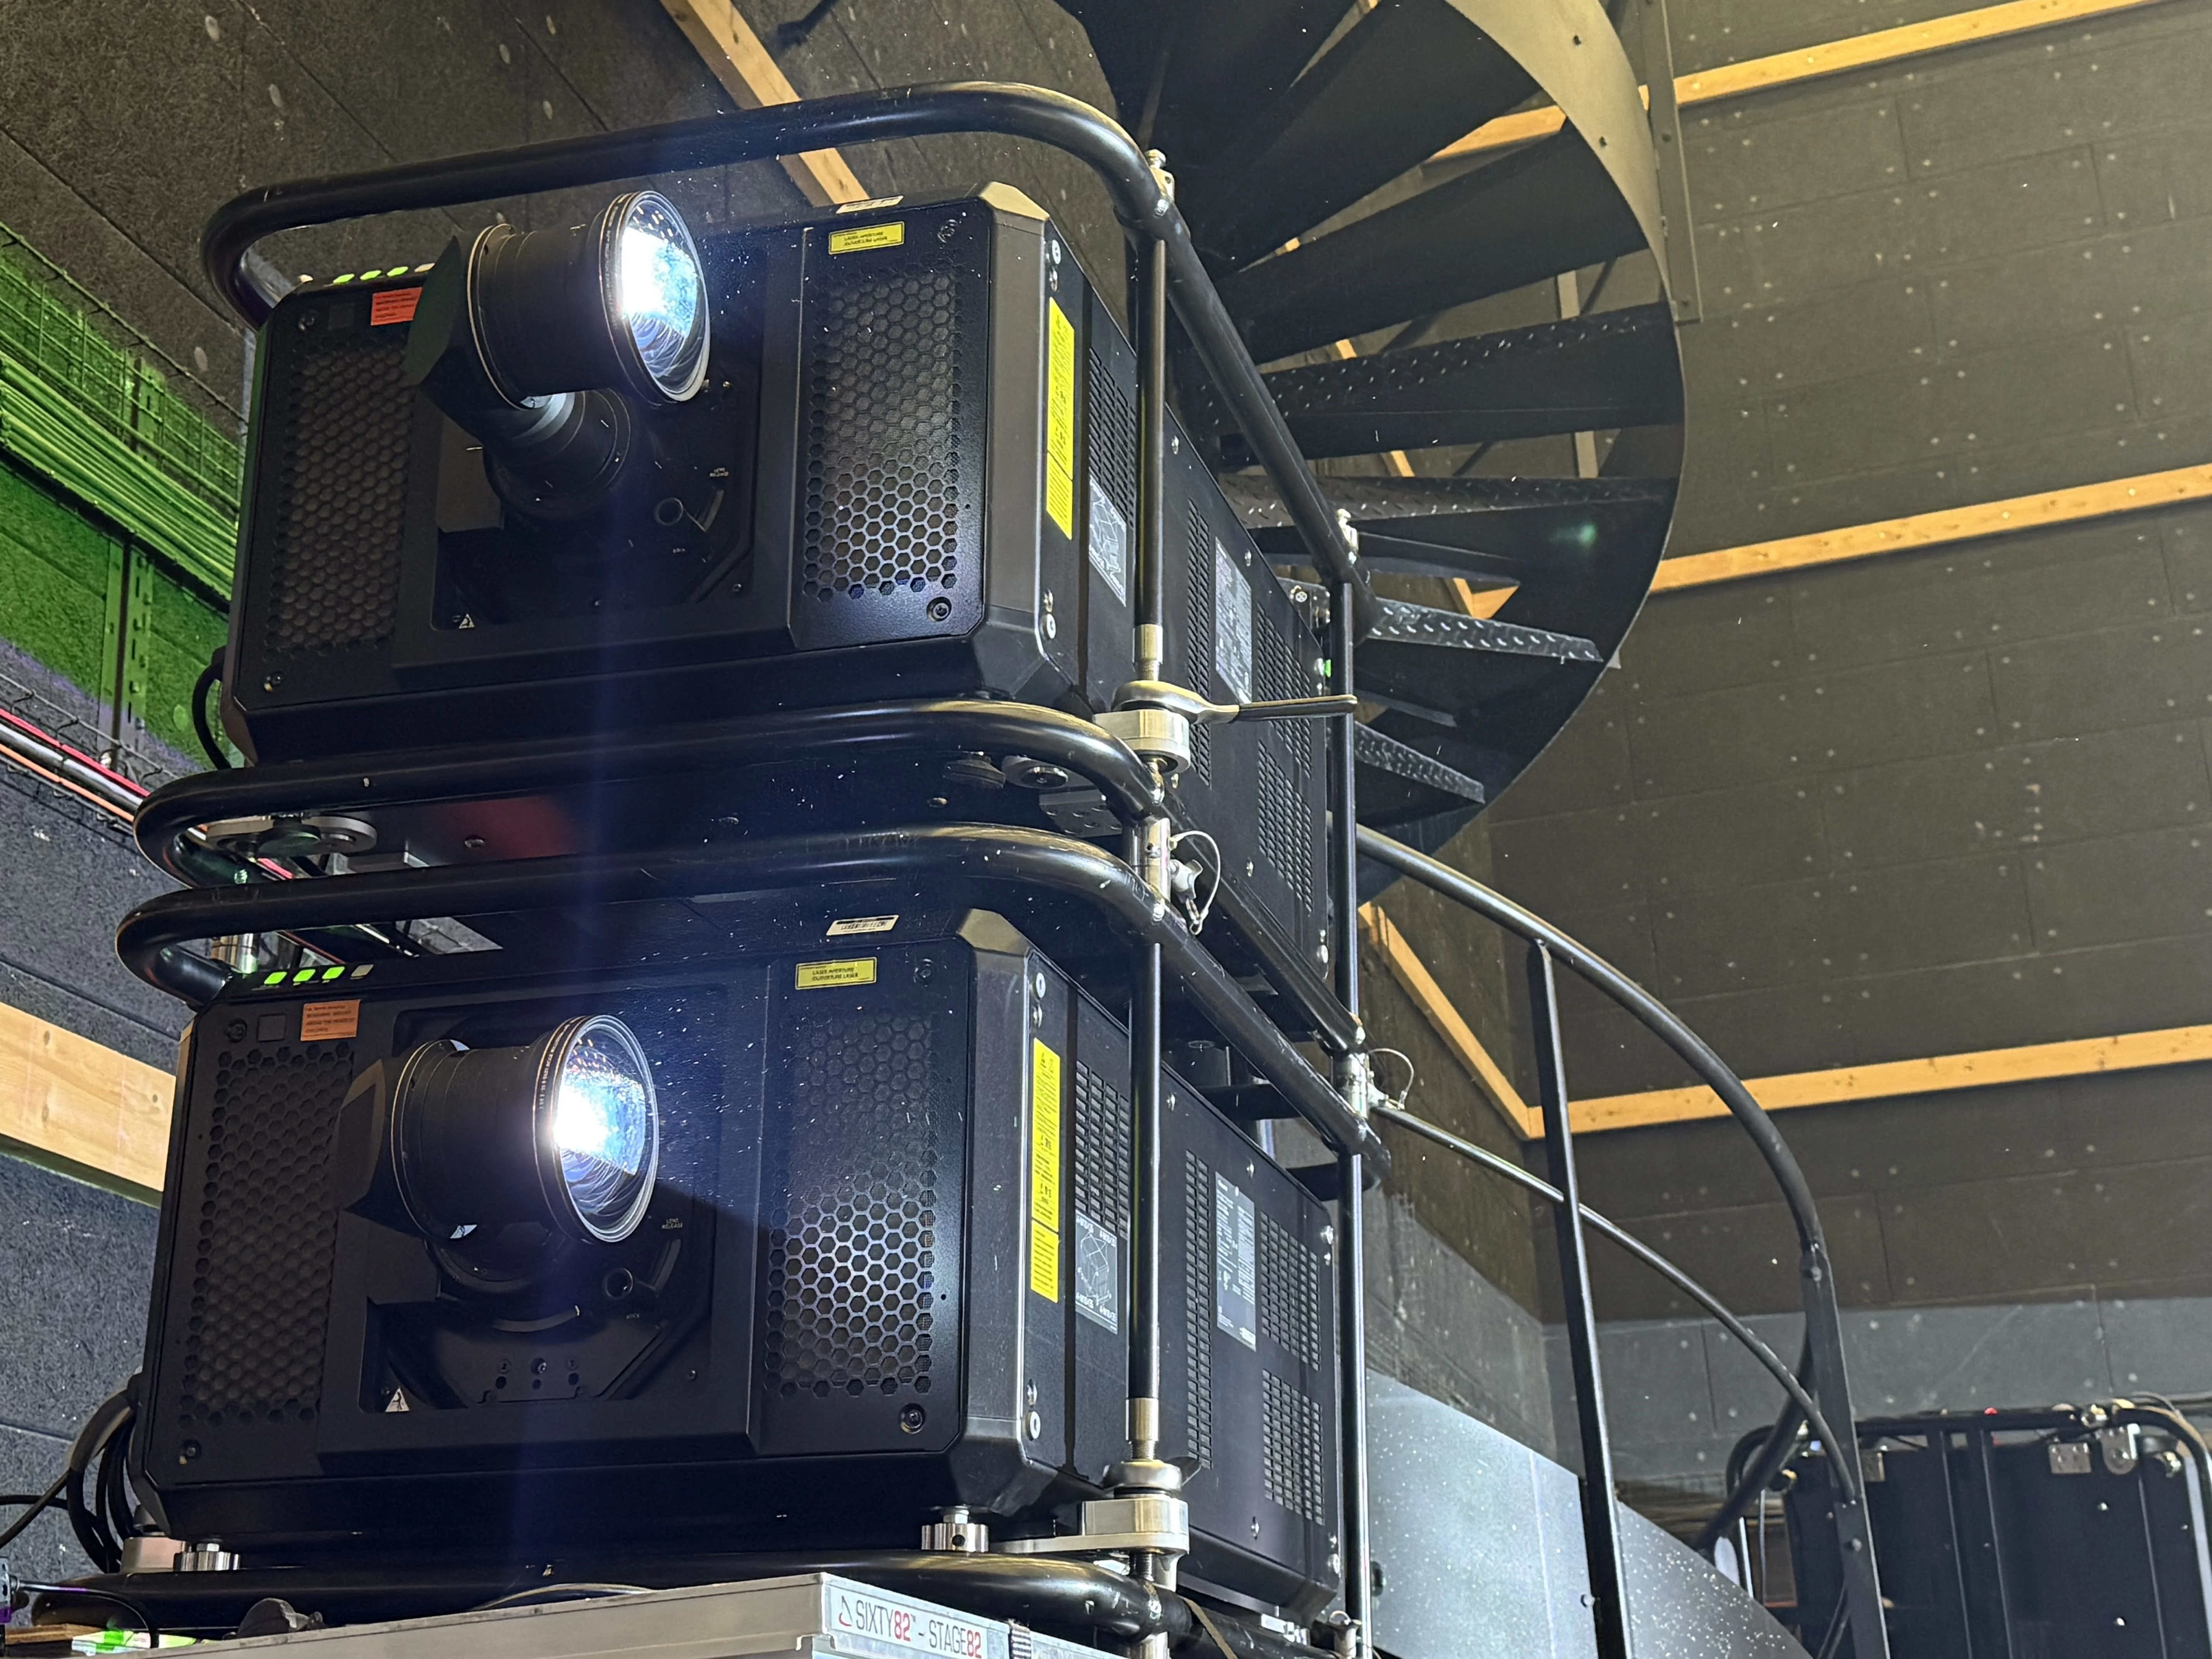
One Projector or Many: Blending and Stacking
Many immersive canvases are larger than any single projector can fill with the required brightness and detail. Two strategies solve this.
Edge blending places images side by side with overlaps. Software or projector tools fade and color-match the overlaps so the audience sees one continuous picture across multiple units. Stacking aligns two identical projectors on the same zone to multiply brightness without increasing image size. Blending and stacking are often combined. For example, stacks on the left and right halves of a stage, blended at the center seam.
Consistency matters. Use the same projector model and lens family across a canvas so color, gamma, and brightness match. This reduces setup time and produces cleaner seams.
Domes, Tunnels, and Tight Rooms
Special spaces demand special optics and careful placement.
Domes rely on rings of short-throw projectors or a central projector with a fisheye lens. Uniform brightness, consistent color, and precise alignment are critical so the sky or environment does not bend or jump at seams. For small domes, a single projector with a fisheye lens can cover the surface, but you will need substantial brightness since one unit is doing all the work. See how we approach dome projection when space, throw, and viewer proximity are all in play.
For a real-world example, see our Immersive Dome and Projection Hall at Renaissance Esmeralda Resort & Spa, where we balanced footprint, lensing, and output on a tight rooftop.
Immersive rooms and tunnels use short or ultra-short throw lenses to keep beams above or below people and to hide hardware near surfaces. Periscope UST lenses and mirror systems let you mount at floor level or tight to ceilings while projecting large images a few inches away from the lens. A good example is DREAMBOX360 5D Immersive Entertainment, where calibrated short-throw arrays create a continuous floor-to-ceiling canvas in a compact footprint.
Architectural mapping often needs long throws from rooftops, balconies, or towers, and high lumen projectors with sturdy mounts and weather protection. Plan sightlines, available rigging, power, and network paths as early as possible. The Texas Tech 100th Anniversary Celebration shows how careful throw planning, lens choices, and brightness modeling keep a large façade uniform from corner to corner.
Content Pipeline and Media Servers
Your projector is only as good as the content feeding it. Match content resolution to projector resolution or to the combined canvas resolution if you are blending. Plan your total pixel count early. If you will cover a 120-foot-wide canvas at high detail, it may be better to tile several WUXGA or 4K projectors than to stretch a single image beyond its comfort zone.
Use a media server that supports warping, blending, and synchronization across outputs. Platforms such as Disguise, Vertex, Touch Designer and WATCHOUT are common in immersive work. For smaller shows, tools like Resolume or MadMapper can handle mapping and blending if the geometry is not extreme. Coordinate with the creative team so important elements do not fall on blend zones and so motion is smooth across seams.
Check input bandwidth and formats on the projector. For 4K at higher frame rates, ensure your signal chain supports the required bandwidth and color format from source to projector.
Budget Tiers and What To Expect
Entry to mid installs often use 1080p or WUXGA laser units in the 3,500 to 10,000 lumen class. This is a sweet spot for small rooms, corridors, and exhibits with controlled light. Multiple projectors blended together can cover wide walls with good detail.
Professional immersive rooms typically use WUXGA or 4K laser units in the 10,000 to 20,000 lumen class with interchangeable lenses, generous lens shift, and robust control. These are well suited to 360 rooms, small domes, and bright brand environments where guests walk close to the image.
Large venues and outdoor projects often require native 4K or high-end WUXGA laser projectors in the 20,000 to 50,000 lumen class, long-throw lenses, weatherized mounts, and camera-based auto-calibration. These are used for stadiums, building facades, and very large domes where coverage and brightness must scale without sacrificing quality.
Invest first in the pieces that protect the audience experience. Enough lumens, the right lenses, and a reliable control pipeline make everything else easier.
Operational Details That Matter
Look for network control and monitoring so your team can power units on and off, check status, and receive alerts. Many professional projectors support LAN control and integrate with show control systems.
Consider acoustic noise and heat. In small rooms, fan noise can break the immersion illusion. Check stated sound levels and plan ventilation so units do not recirculate hot air. Sealed or filter-free optical blocks reduce dust-related maintenance in long-running exhibits.
Plan for uniformity. Brightness and color uniformity across the image help keep blends invisible and graphics consistent. Using identical models and fresh, matched units when possible reduces calibration time.
Common Pitfalls To Avoid
Guessing at throw instead of calculating it forces compromises on site. Measure, then pick optics that fit. Underestimating ambient light and surface reflectivity leads to washed images. Audit the room lighting and surface color before you lock the lumen spec. We recommend the Sekonic SPECTROMETER C-800.
Mixing projector types across a blended canvas makes color matching harder than it needs to be. Choose one model and lens family whenever possible. Overusing keystone to fix a bad mount reduces resolution and can soften content. Move the projector or use lens shift first, then apply minimal digital correction.
Ignoring the brightness loss at telephoto zoom leads to dim results. Budget lumens for the actual zoom position and the size you will run..
How Lumen and Forge Specifies Projectors
Our approach is straightforward and rigorous. We start with measurements, site photos, and CAD or hand sketches. We calculate throw, lumen targets, and pixel density based on viewing distance. We pick a unified projector and lens family that meets geometry, brightness, and budget, often drawing from Optoma Projector Sets, Panasonic bodies with ET-DLE lenses, Barco bodies with FLD and FLD+ optics, and Christie installation lenses for large venues.
We previsualize the array and content flow, then deliver on site with calibrated color, clean geometry, and a media server tuned to the creative. Where the space demands it, we specify specialty short-throw or periscope lenses to keep beams out of guest paths and preserve the illusion from every angle.
Turn a Space Into a Story
Great projection is not an accident. It comes from clear goals, solid measurements, and the right match between projector, lens, and content. When those elements are aligned, the technology disappears and the room becomes the world you imagined.
If you are planning a dome, a wraparound room, a projection tunnel, or a building mapping, we can help you scope the geometry, select lenses, specify the right projector family, and deliver a seamless blend. Share your space and your story. Lumen and Forge will turn it into an immersive experience that feels natural, runs reliably, and leaves people talking long after they walk out.
Practical Selection Flow
Use this simple flow to shortlist candidates, then refine.
Practical Projector Selection Checklist
Each step narrows the field to projectors that will succeed in your specific space. Document assumptions and decisions so the technical and creative teams stay aligned.